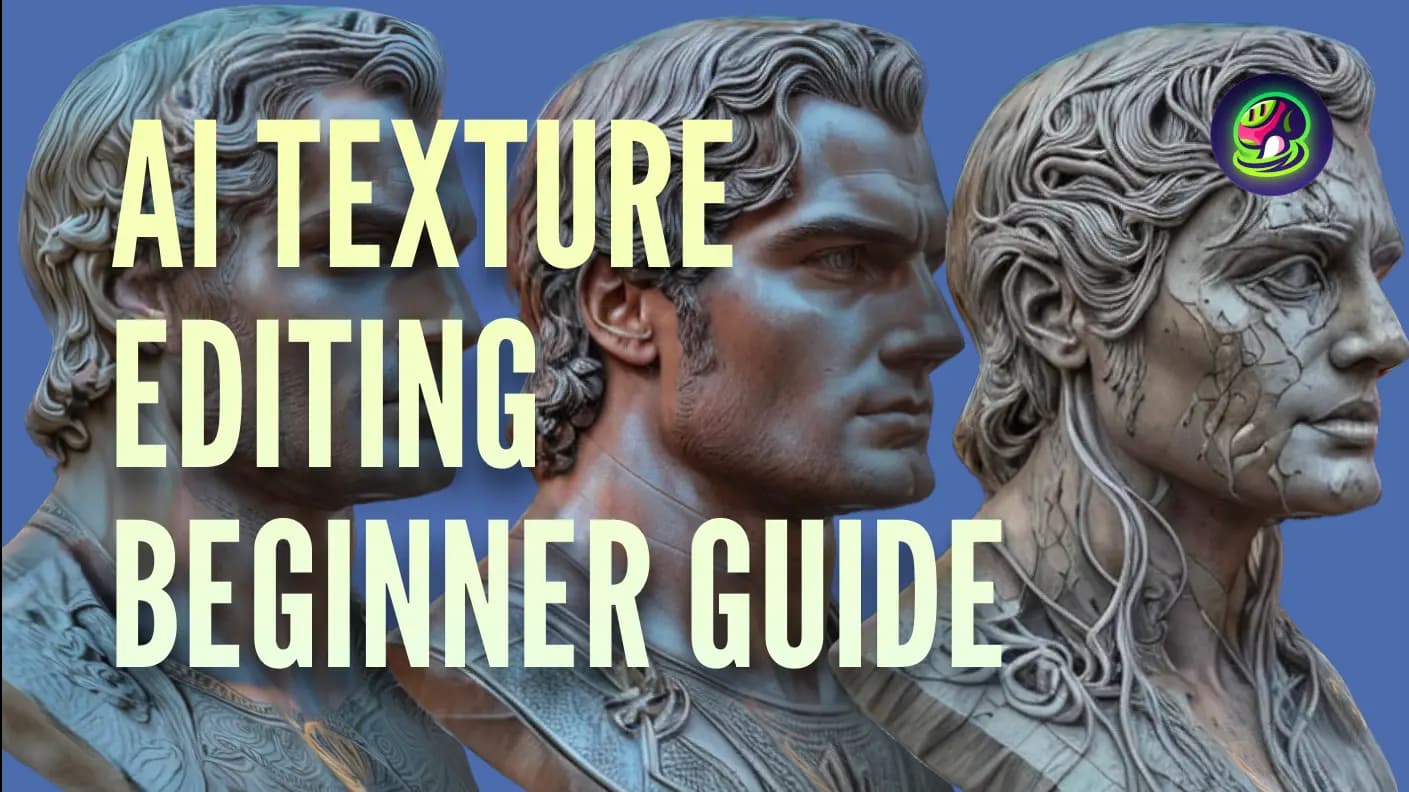
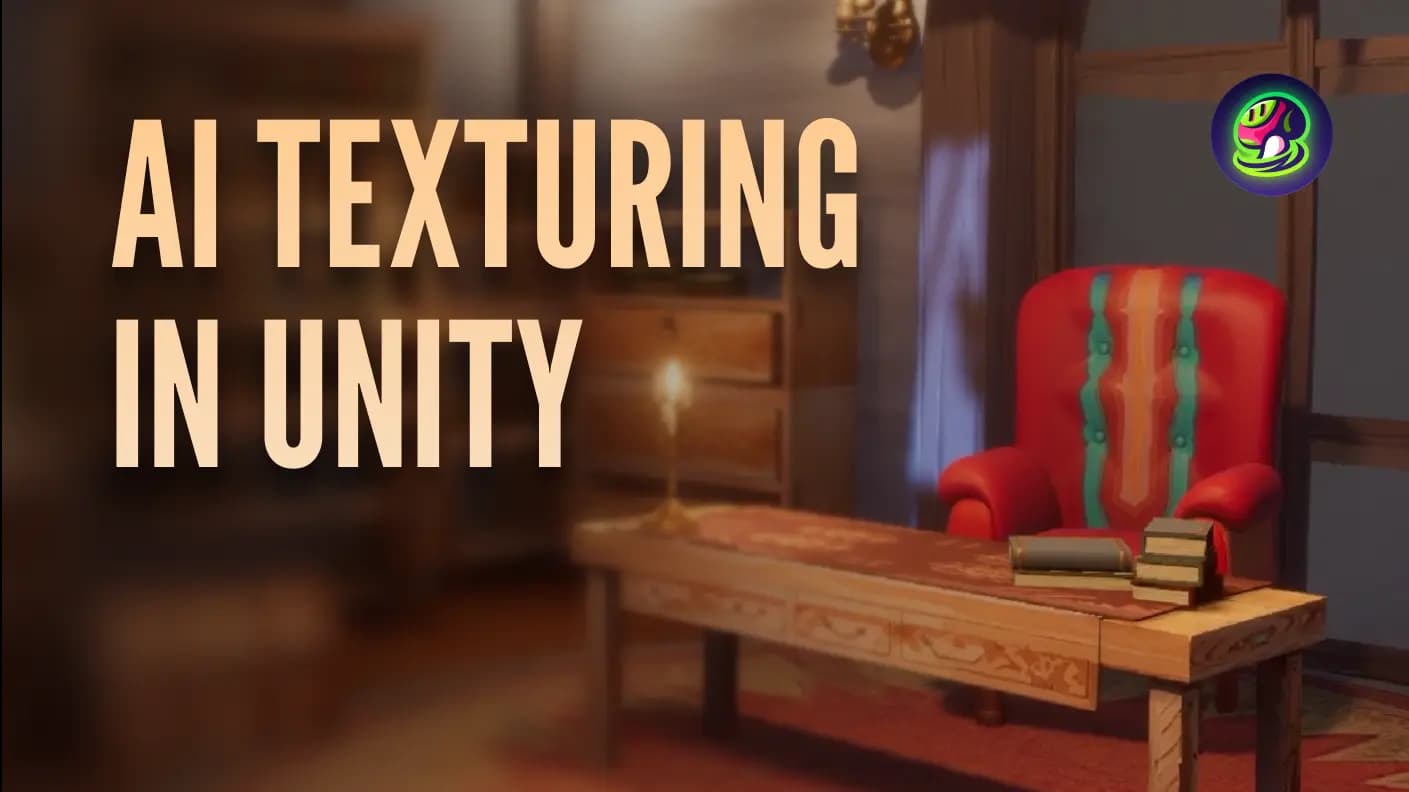
If you've ever struggled with UV mapping or spent hours hand-painting textures, there's good news: Meshy + Grok 3 is here to revolutionize your workflow. In just minutes, you can generate high-quality textures for your 3D models with nothing but a prompt.
Why AI Texturing Matters
In 3D design, applying realistic textures is one of the most time-consuming and technically challenging tasks. Artists often spend hours tweaking UVs and editing image maps. But what if you could skip all that?
AI-powered texturing solves:
- Tedious manual painting
- Time spent looking for or making textures
- Inconsistent art styles
With Meshy AI + Grok 3, that time shrinks to seconds.
Why Meshy AI Texturing?
- Upload your own 3D models and texture them with text or image prompts.
- Experiment with styles like World of Warcraft, Pixar, or realistic in seconds.
- Save time and bring your creative visions to life faster than ever.
What You Need
- A 3D model file (e.g.,
.obj,.glb) - Access to Meshy AI and Grok 3
- A text description of the material or texture you want
Tool Overview: What Are Meshy and Grok 3?
Meshy AI
Meshy is an AI platform that lets you create 3D models from text or images, automatically retopologize and texture them, and export for Blender, Unity, and more.
Grok 3 by xAI
Grok 3 is xAI's newest multimodal AI model that enhances how Meshy generates textures, offering smarter visual and semantic understanding from prompts.
Step-by-Step: How to Auto Texture a 3D Model in Meshy
1. Upload Your Model to Meshy
Log in to Meshy AI, navigate to the AI Texturing tab, and upload your untextured model to the Workspace.
![]()
For optimal results, please ensure your model follows the upload guidelines.
![]()
2. Enhance Your Prompt with Grok
After uploading your model, you can create a texture using a text or image prompt.
![]()
If you need assistance refining your prompt, use Grok to generate a more detailed and accurate description, improving the final texture quality.
![]()
For example, you can use this prompt in Grok to generate a more detailed and refined text prompt for Meshy AI texturing.
![]()
And you'll receive an enhanced prompt ready to use.
![]()
3. Enter the Text Prompt
Once you have the enhanced prompt from Grok, copy and paste it into the Meshy AI prompt field.
![]()
Click Texture to begin the automatic texturing process. Meshy AI will apply the texture based on your prompt within minutes.
![]()
4. Preview and Adjust
Meshy AI automatically unwraps the UVs and generates a PBR-ready texture.
![]()
You can preview the textured model in real time. If needed, adjust the style keywords to explore different texture variations.
5. Download and Export
When you are satisfied with the results, download the textured model directly.
Before downloading, you can also adjust the model's height, origin, format, and other settings as needed.
![]()
Conclusion
Meshy + Grok 3 is transforming the way artists texture 3D models — making the process faster, easier, and more creative than ever. Whether you're a game developer, 3D artist, or hobbyist, you can now generate high-quality textures in just a few clicks.
Ready to streamline your workflow? Try AI texturing with Meshy today and bring your 3D creations to life.
Watch the Full Tutorial
Want a full walkthrough? Check out this video:
FAQ
1. Do I need to manually unwrap the UVs of my model before using Meshy?
No, Meshy automatically handles UV unwrapping for you. Simply upload your untextured model, and Meshy will take care of the rest. This saves you time and eliminates the need for manual UV mapping.
2. Can I upload my own textures to Meshy for custom texturing?
Currently, Meshy focuses on text-to-texture, so you can't upload your own texture maps just yet. However, this feature may be available in future updates. For now, you can generate textures by describing your materials with text or images.
3. Can I legally use my AI-generated characters in my published game?
Yes! If you're on a premium plan, you fully own the characters you create and can use them in your game, as long as you didn't use any copyrighted materials during creation. If you're on a free plan, you can still use them commercially, but you need to credit Meshy under the CC BY 4.0 license.
4. Is Meshy free to use?
Meshy offers a free tier with limited features. You can still generate basic 3D textures and models, but premium features such as advanced texturing and model export are available with the paid plans.
5. What types of 3D models can I use with Meshy for texturing?
Meshy supports a wide range of 3D model formats, including .obj and .glb files. Whether you're working on game assets, 3D prototypes, or printable collectibles, Meshy is equipped to handle your texturing needs.


