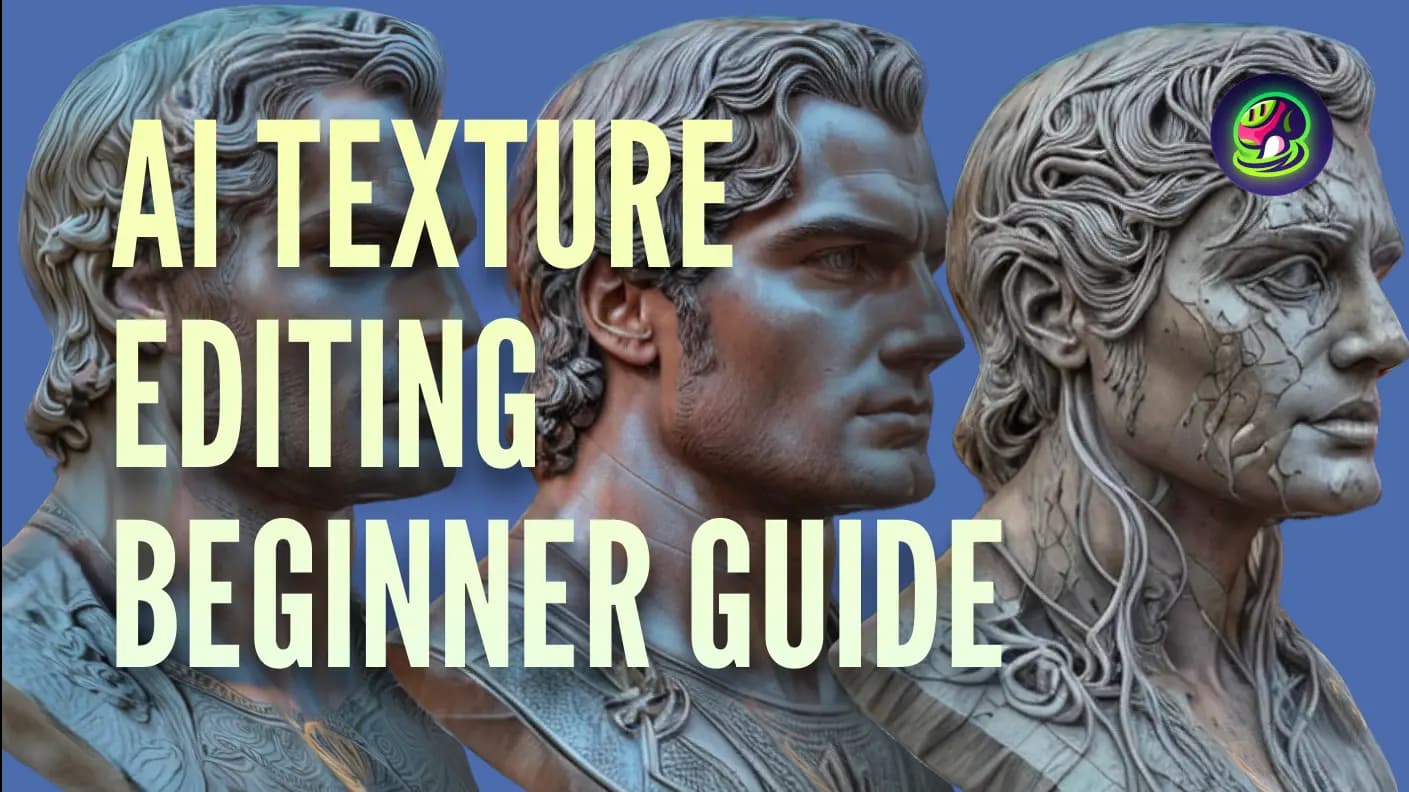
Meshy is a fast AI 3D model generator, empowering content creators to transform text and images into captivating 3D models in just a few minutes. In this guide, we will explore some lesser-known features of Meshy AI that can significantly improve the quality of your 3D generations.
Texture Richness
Texture Richness controls the quality of textures. You can find it in the settings next to the “Refine” button. We will demonstrate the impact of different parameter values on texture effects through several examples.
![]() Setting texture richness
Setting texture richness
Here are some key points to remember when setting texture richness:
- Choose the appropriate texture richness based on the model's shape and texture style.
- For cartoon-style textures, it is recommended to choose medium texture richness.
- For realistic-style textures, it is recommended to choose high texture richness.
- When the shape and texture are relatively simple, try setting texture richness to none for tidier textures, though the clarity may be slightly blurred.
Mesh Settings
In the production of 3D models for the film or gaming industry, appropriate topology and mesh face count are essential. Therefore, Meshy provides two related features within mesh settings: Triangle/Quad Mode Conversion and Reduce Polygons.
Choosing Between Triangle and Quad Mesh
- Quad mesh contributes to clearer and more organized topology, making it easier to modify the model in subsequent steps.
- Triangle mesh can better preserve the model's structure with the same number of faces as quad meshes.
Triangle mesh and quad mesh have their own advantages. You can choose the appropriate mode according to your needs.
Adjust Polycount
You can drag the slider or input numbers to adjust the ratio of the desired polycount to the original model's polycount.
For example, if you wish to make the face count from 10778 to 4000, simply set the ratio to 0.43. Click apply, and you'll see the face count reduced to 4750 according to the ratio.
![]() Reduce Polygons
Reduce Polygons
Smart Healing
Unlike AI texture editing, smart healing is better suited for fixing small texture flaws, such as extra facial features, texture seams, and detail errors.
For example, if a model has an extra face on its back, follow these steps:
- Adjust the model to a suitable angle.
- Click "Smart Healing" in the right toolbar.
- Select the texture area to edit using the lasso or brush tool.
- Modify the selected area with the eraser if needed, and adjust the brush size as required.
- Click "Smart Healing" to repair the selected area. Use "Redo" or "Undo" if necessary until satisfied.
- Click "Apply to Model" to refine and regenerate the textures.
![]() Remove unnecessary details with smart healing
Remove unnecessary details with smart healing
Tips: When selecting the editing area, try to avoid the black background area, as it may cause abnormal repair results. It is recommended to erase the areas that are outside the model range.
Conclusion
By leveraging Meshy's hidden features like Texture Richness, Mesh Settings, and Smart Healing, you can enhance your AI 3d modeling projects with ease and precision. Experiment with these tools to discover their full potential and optimize your workflow.
Thank you for exploring these features with us. Stay tuned for more tips and tutorials on getting the most out of Meshy!
Follow Meshy
If you're interested in exploring more about Meshy, check out our social media platforms. Learn how AI 3D model generators](/) can transform your creative workflow:
- Subscribe to our YouTube channel for the latest tutorials.
- Follow us on Twitter for news, tips, and inspiration.
- Join our Discord community to connect with other 3D artists.


