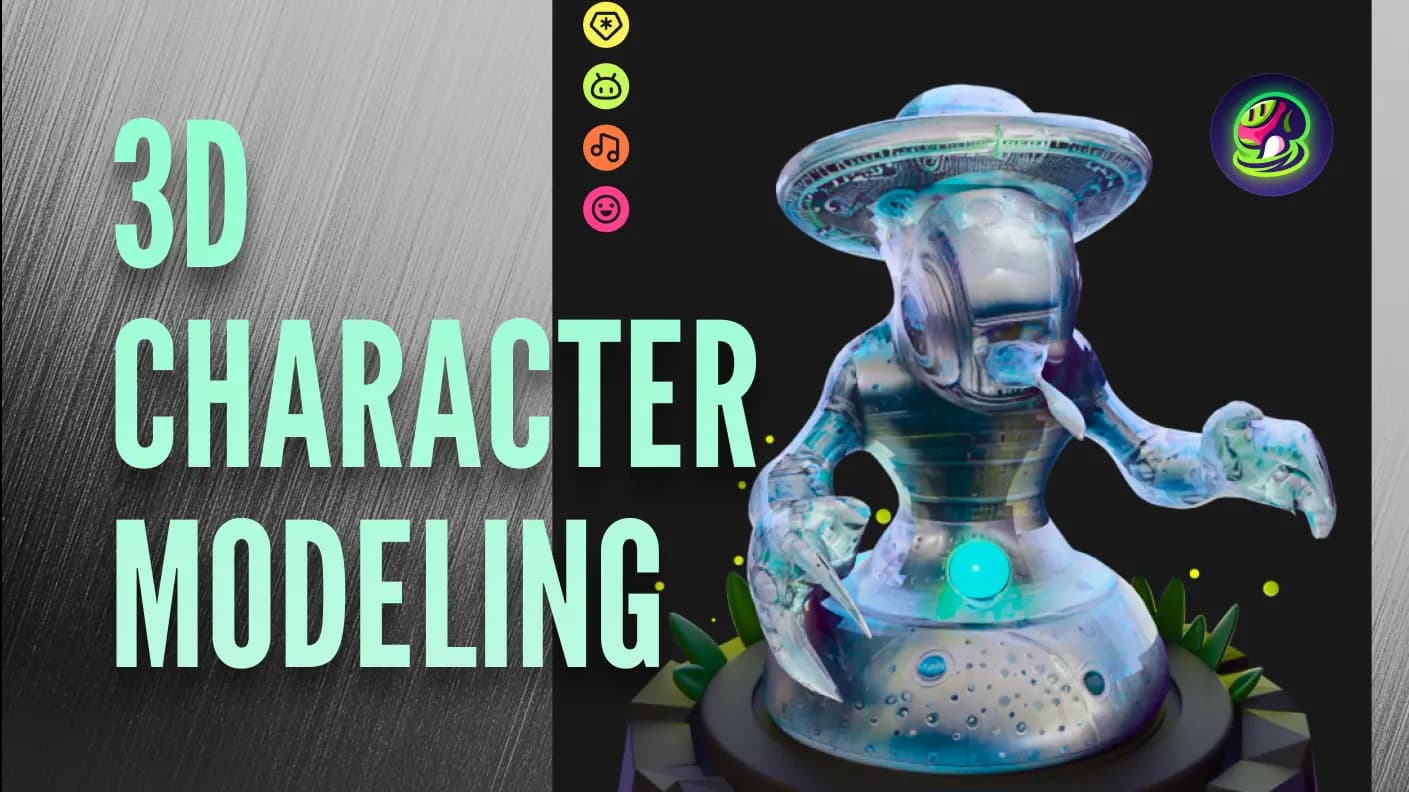
In today's digital landscape, creating animated characters for games and animations has become more accessible than ever. Whether you're an indie game developer or aspiring 3D artist, mastering the process of character animation can significantly elevate your projects.
In this tutorial, we'll guide you through the steps of creating animated characters using Meshy, Blender, and Mixamo. This comprehensive guide is designed to be beginner-friendly yet informative enough for seasoned professionals looking to streamline their workflow.
Step 1: Generate 3D Character Models with Meshy
Meshy allows you to create detailed 3D models from text or image prompts, making it ideal for obtaining free 3D models quickly. Here's how to get started:
- Access Meshy: Visit meshy.ai and navigate to the "Text to 3D" section.
- Generating Characters: Enter the text prompt, specify "A-pose" or "T-Pose" to ensure the character generates in a neutral pose for easier rigging. Avoid generating non-human body parts like large tails or complex fabrics, as Mixamo may have difficulty rigging these parts.

- Refining with AI: Use AI Texture Editing to fix texture flaws if necessary. Make sure the model aligns with your intended uses of animation. This step ensures your character is visually appealing and ready for the next stage.

Step 2: Process Base Mesh in Blender
Once you have your base model from Meshy, it's time to prepare it in Blender. Follow these steps to optimize your model for animation:
- Adjusting the model: Ensure the model is correctly scaled and positioned relative to Blender's coordinate system. This step is crucial for seamless integration with Mixamo.
- Symmetrizing the Model: Check and adjust the symmetry of the model to facilitate proper bone rigging later on.
- Exporting for Mixamo: Reset all transformations and export the model as an FBX file. This ensures compatibility with Mixamo's rigging process.
![]()
Step 3: Rig Characters with Mixamo
Mixamo simplifies the rigging process with its automated tools, making it an invaluable resource for animators and game developers alike. Here's how to rig your character using Mixamo:
- Adjusting Joints: Use Mixamo's intuitive interface to adjust joint positions and ensure proper bone alignment. This step is crucial for realistic animations.
- Rigging Options: Select appropriate rigging options, such as "2 chain fingers", which is suitable your Meshy model.

- Preview and Download: Preview the rigged character. If satisfied, proceed to download the model in either T-pose or A-pose, along with necessary animation assets.
If there are rigging problems, such as strange distortions like the character's beard. It is recommended to download the model, then use Blender's weight paint mode for manual weight adjustments. Afterward, re-upload the model; Mixamo will automatically recognize bones and weights and fix rigging errors.
![]()
![]()
Step 4: Create Animation with Blender
With a rigged character in hand, it's time to bring them to life through animation in Blender. Follow these steps to animate your character effectively:
- Importing the Rigged Model: Import the downloaded model into Blender, ensuring textures and rigging are preserved.
- Setting Up Animation: Ensure the Armature is returned to its initial A-pose state to avoid animation errors.
- Importing Animation Assets: Import animation assets obtained from Mixamo or create custom animations directly within Blender.
![]()
- Refining and Exporting: Use Blender's animation tools to refine movements and transitions. Once satisfied, export the final animated character ready for integration into your projects.
![]()
Conclusion: Animate 3D Characters Efficiently
Mastering the art of character animation with Meshy, Blender, and Mixamo opens up a world of creative possibilities. Whether you're designing characters for games or animations, these tools provide the essential framework for bringing your ideas to life. By following this tutorial, you've gained valuable insights into generating, rigging, and animating 3D characters efficiently.
Start creating your own animated characters today and explore the endless potential of 3D modeling and animation!
![]()
Follow Meshy
If you're interested in exploring more about Meshy, check out our social media platforms. Learn how AI 3D model generators can transform your creative workflow:
- Subscribe to our YouTube channel for the latest tutorials.
- Follow us on Twitter for news, tips, and inspiration.
- Join our Discord community to connect with other 3D artists.

